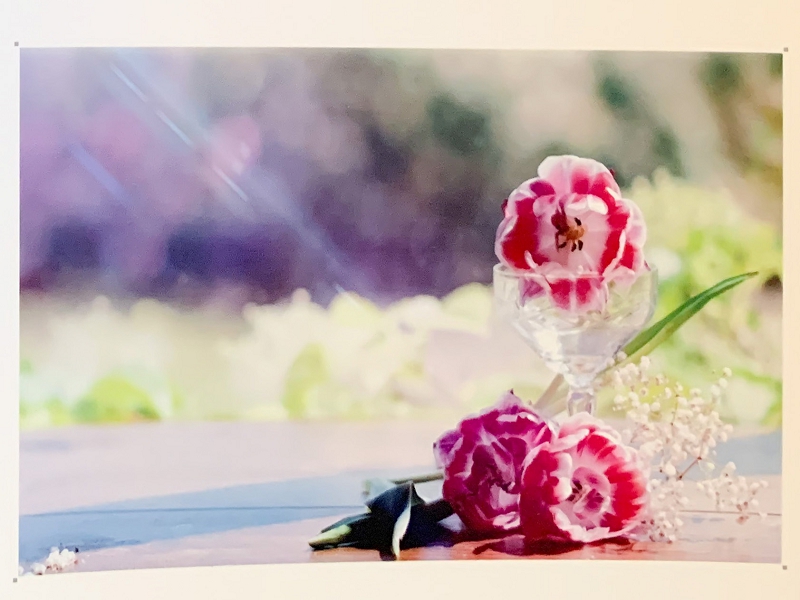
Recently (September 2019) I’ve been exploring ways to print my digital images.
I use a series of small notebooks (A6 and a little smaller) to keep my own photography-related notes, quotes and observations. I have been cutting up old copies of the B+W Photography magazine for ideas and images, which is OK but I would like to add some of my own images, both in colour and B+W. It remained a passing thought until our main printer stumbled and we went looking for a replacement.
It is years since we needed to look at printers, as our old XP-connected HP has worked OK over WiFi with Win 10. Our general demands are quite simple – printing letters, records of work and daily calendars etc. Nothing exotic like photo printing!
My favourite printer was a Canon, that now languishes together with my old XP desktop. But it encouraged us to focus our replacement search on Canon printers. Mike did the main hunting, and emerged perplexed by the sheer range both in capabilities and price. But during the search he came across something new to me, a range of very small and portable printers designed to print postcard size and smaller PHOTOS. I was instantly interested! Might there be printers to cater to my small size needs? Could I print out my own images? And in colour? And on photo quality paper?
I went looking – seriously – for my dream machine!
When I thought about it I realised there must be quite a demand in today’s world of smartphones for selfies straight from the mobile phone to the printer!
I chose the Canon Selphy CP1300 (the name says it all)
It was a gamble as the printer alone was about £100 and the bundles of inks/paper are between £30 and £40. I comforted myself that I could always put it on eBay and recover some of the outlay!!
I was rather nervous about the print quality, especially the colour values. Having spent several years immersed in pastel painting I have become quite discerning about precise colour and tonal values. When you have a dozen shades of green, and no way to mix or over-paint, you do develop quite an eagle eye!!
But, as the online reviewers all agreed – the quality is really excellent. So it is not going on eBay – it is just what I want.
A quick caveat here. It is a kind of madness to try and show the print quality of the photos, but I have done my best! To take a digital image and print it on paper is fraught with problems about the colour values that will emerge. Entire manuals have been written about this. But then to take a digital photo of the print-out to post online? Madness indeed! All I can say is that I have used my iPhone XsMax camera and simply shot the print-outs as best I could (paper curls and phone shadows and all). And as a final piece of madness I had to reduce the quality of the iPhone shots so as not to use up all my website storage space!
The outlay is the big ‘ouch’. After that, the running costs work out at roughly 32p a postcard. I don’t know how that compares with buying online prints – but for my purposes it is reasonable. As well as the full postcard size, this printer can print 2 images on each sheet, which means 16p per image for my notebooks.
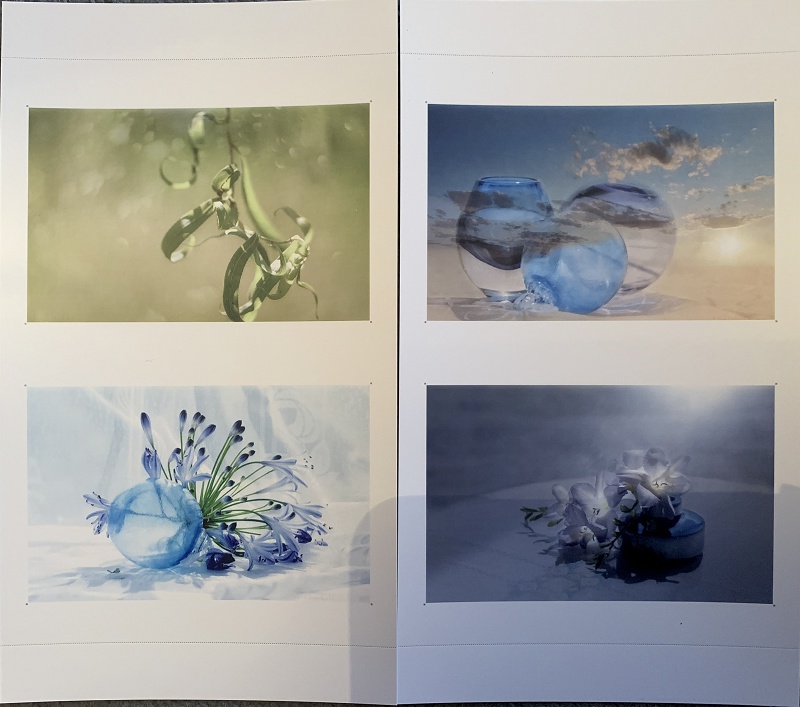
and that is an ideal size for my Moleskine notebooks.
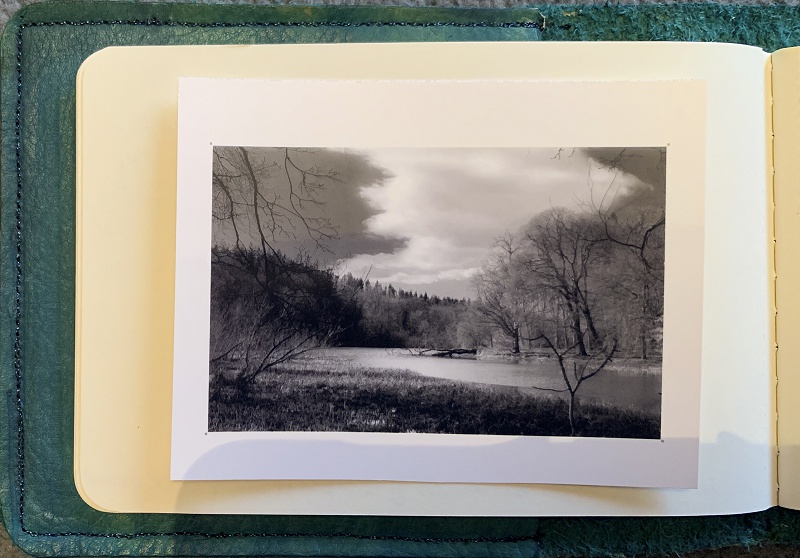
So 16p per image, and excellent print quality too. Nicely nuanced colours and tones in both colour and B+W.
So on to the Selphy 1300 itself
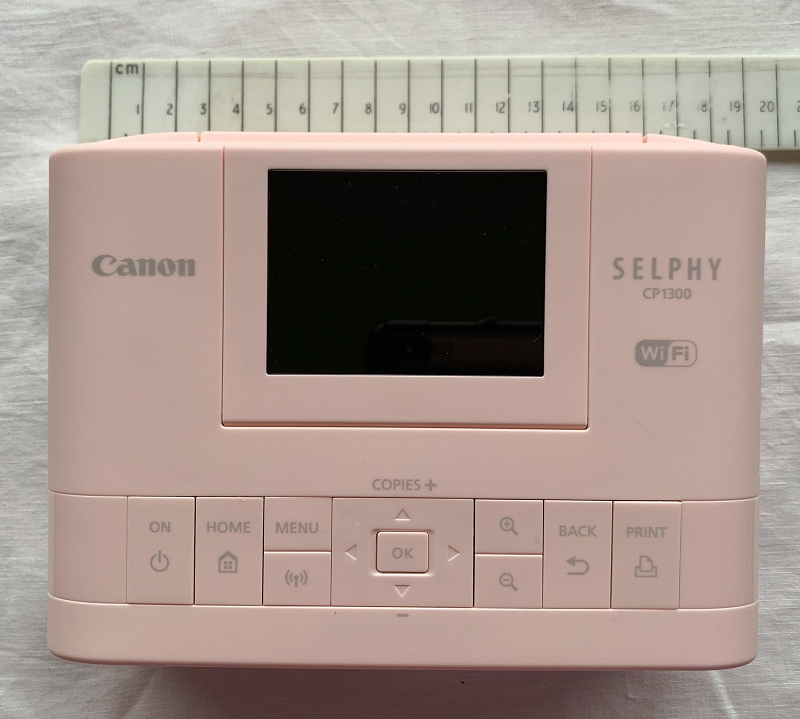
The actual printer is very compact, and so small measuring about 20cm x 15cm for the printer body. There is a mains adapter and plug, and also a paper tray to add to the overall size (and weight) but it is easily assembled, disassembled and stored in a cupboard or even a drawer. I take my Selphy out and set it up on the kitchen table as and when I need it.
As a complete novice I was quite lost about buying the inks and paper for my Selphy 1300. I couldn’t find a good, clear explanation about them anywhere, not even on Canon’s own UK website. Most ‘normal’ size printers sells inks and paper separately, but the Selphy sells them boxed and bundled together – also most printers come with enough ink and paper supplied to give you a good start – but the Selphy comes with no starter pack. The most they do is offer a ‘bundle’, which is OK if it is available. A bundle was not available when I bought my Selphy. If that happens, go to the Canon website page above, locate the link to ‘Support’ and download the PDF manual – you really will need it!
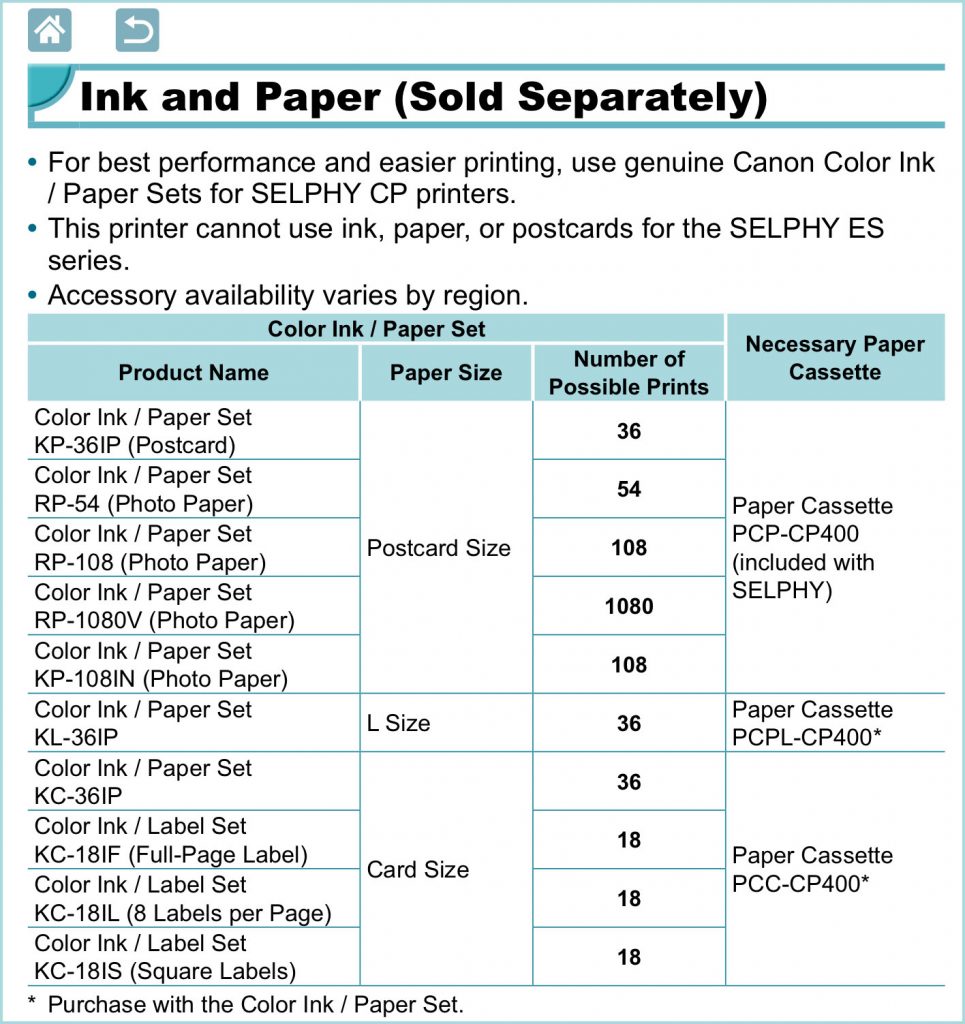
Here the biggest confusion was “Ink and paper sold separately” . Separately from what? From each other? From the paper tray? From the printer? I took advice from Amazon support, and chose a box (Canon RP-108) with my fingers crossed, and safe in the knowledge that I could return it if it proved to be wrong!
When it arrived all was revealed!
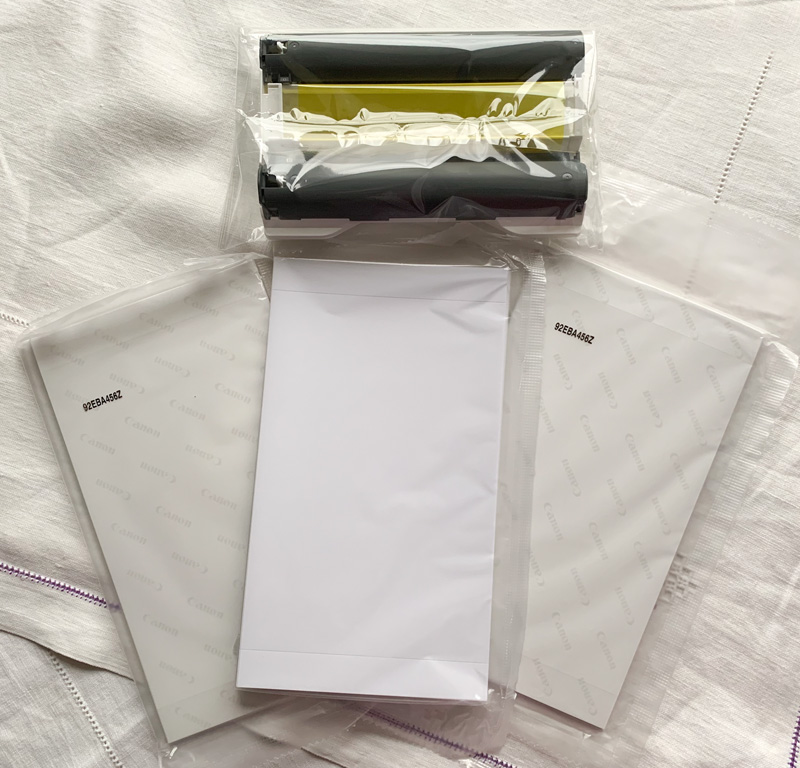
There are two ink cartridges that provide enough ink for the 108 sheets of photo paper. And the photo paper is neatly packaged into 6 bundles of 18 sheets (the maximum that the paper tray will hold). The paper tray is easy to slot in and remove, with a neat cover flap to keep the photo surface protected. The ink cartridge fits neatly into the body of the Selphy too, and stays in place.
So finally I was in business!
With the ink cartridge loaded and the paper tray inserted I was ready to plug in and get printing! Now there are ways to Wi-Fi straight from a smartphone or a computer. Fine, but what I want to do is to print some of my finalised Jpeg images, processed in Photoshop. I’m not interested in unprocessed snaps – they are unlikely to feature large in my printer schedule.
I had made sure that the Selphy 1300 has both an SD card slot, and a USB port. So I could load up the USB stick with my shots and print. WRONG. The printer didn’t recognise the images at all. I tried loading them onto a spare SD card. Same result. The printer reported there were no images on the card! In puzzlement I took an SD card straight out of a camera – and YES! – the images were there.
I was stunned! I tried other cards from cameras – all registered clearly and perfectly on the small monitor on the Selphy. I pondered, wondering if the printer was really worth it if I couldn’t print any of my own processed photos. I decided to print some of the SOOC shots to see what quality I could get.
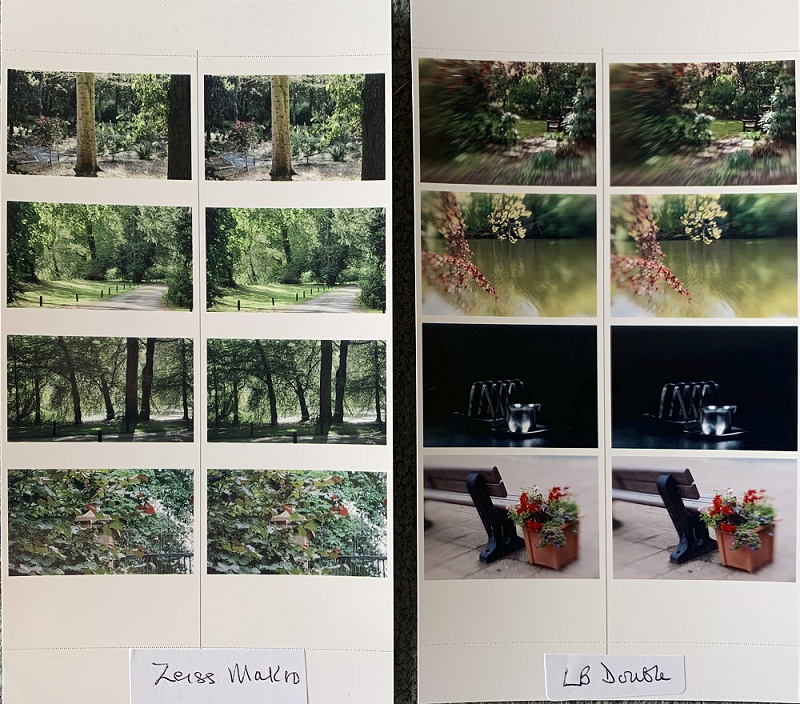
I tried shots using two of my favourite lenses. The Zeiss Makro has a cool, blue tint to the greens it produces. The Lensbaby gives brighter greens edging towards the yellow end of the spectrum.

Then I tried two more of the lenses I use frequently and know how they register colours. Again SOOC using their SD cards. The Meyer Optik lens has a definite leaning towards the yellow end of the green spectrum. The shots here were taken at the same time as the Zeiss Makro set above. If the printer could show me the subtle variations between lenses, then I would be keeping the printer!
Not only could it reproduce the colour values and variations perfectly – when I printed a shot out at full postcard size, it was as clear as looking at the shot on my laptop screen. I was impressed!

There are so many subtle tones of green in this Meyer Optic shot – and the Selphy does a brilliant job of catching them.
So the final hurdle was to find a way to print my own processed shots – and as you might have guessed from the cover shot of three tulips I did find an answer that has worked for me. I searched online and found that I was not alone in meeting this problem. Some of the questions were from way back to 2012, which means it must have been a problem for a long time, and one that Canon have not addressed! My query to Canon elicited the suggestion that I reformat the USB pen to FAT32.
By the time they replied I had already found my workaround from an online forum. If I used an additional step, and opened the image in Microsoft Paint and then and saved it – the Selphy would recognise the Jpeg. This suggests that there is something about the EXIF data that is causing the non-recognition. Whatever the problem is, Canon do not seem motivated to explore and solve the issue – so thanks to other users, I now can print my own finished images – and my Selphy can and does answer my photo printing needs, and with great quality too.
So just a few of the final results, printed for my notebooks at 2 per page (half postcard size)
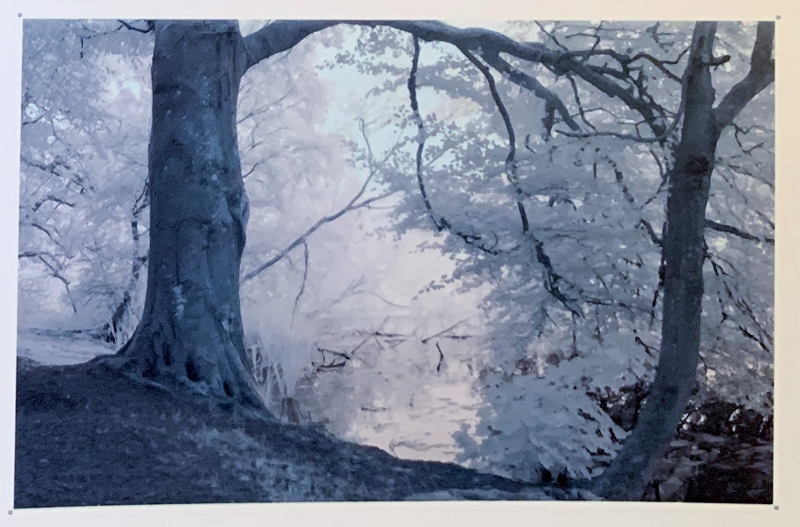
Infrared can be demanding and need subtle shades and tints
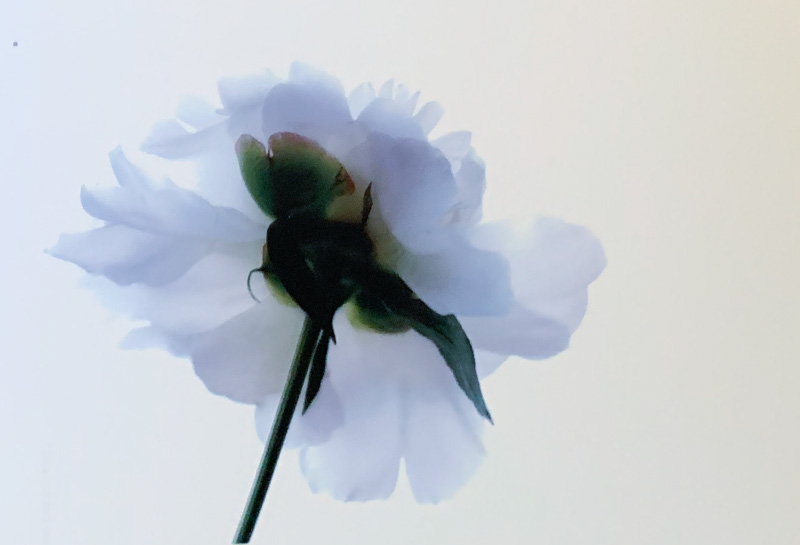
High key petals are another situation where delicacy of colour handling is required.
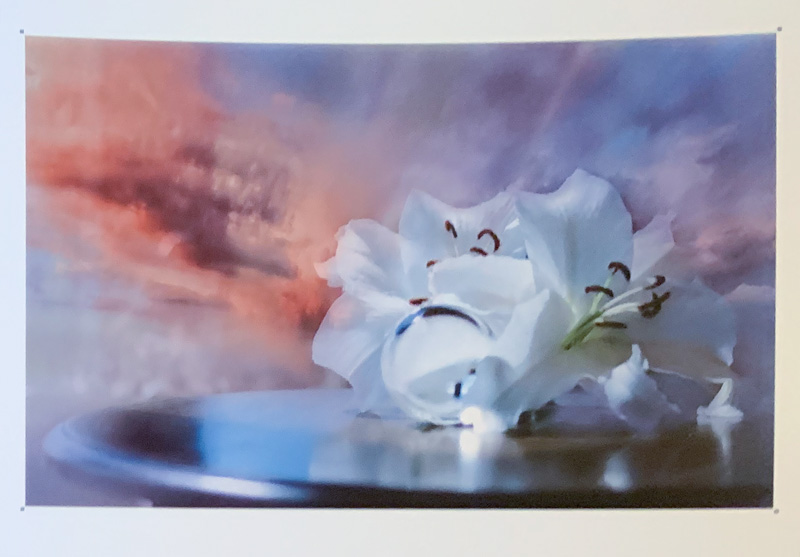
Vibrant colours are reproduced faithfully too. The Selphy is amazingly good!
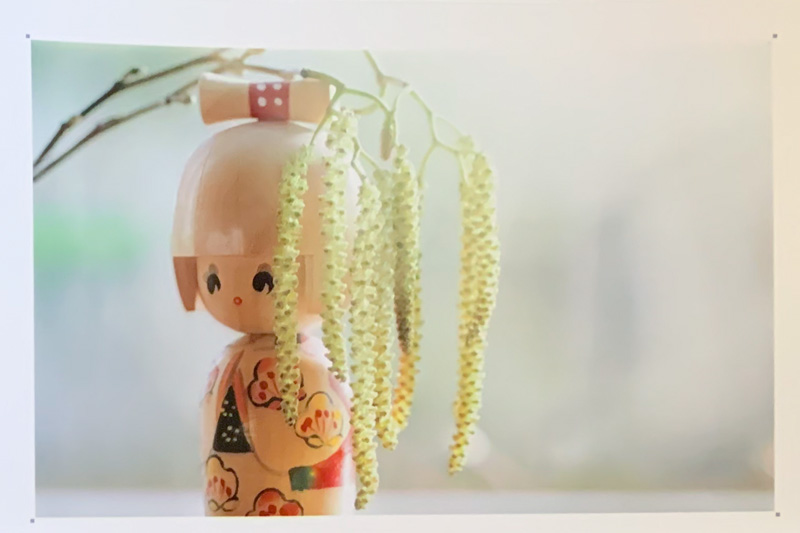
Sometimes the shape that I have chosen for my original image doesn’t fit comfortably in the ‘2 per sheet’ dimensions – here the base of the Kokeshi doll has been lost. Maybe I can customise some settings?
The final verdict has to be that the print quality is superb, and once the initial problems are overcome it is quick and easy and so convenient to use.
My Talking Digital Photography section has more photography articles
Flickr holds Elisa’s online Photo Gallery
© 2019 Elisa Liddell
