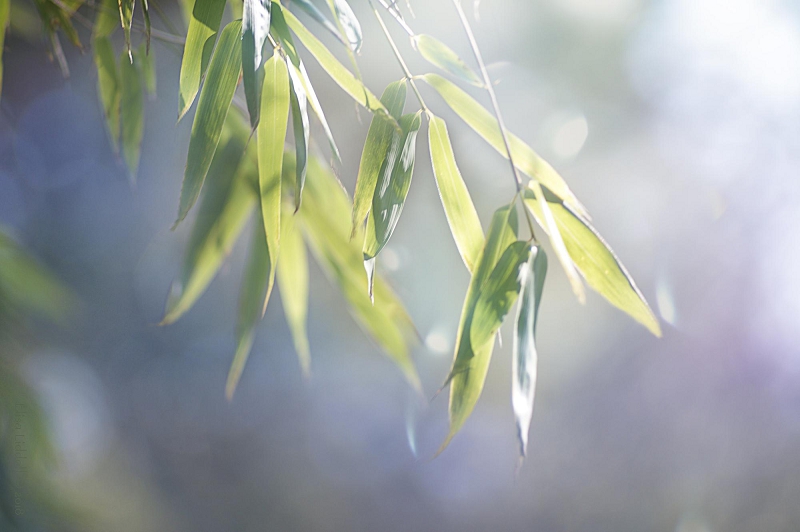
Early in 2018 we were just emerging from from a long and extremely harsh winter when I made my first visit of the the year to Fyvie Castle and loch. It’s my favourite local haunt, for walking, sitting and relaxing, and of course photography. So I took a camera or two, just to familiarise myself with the ‘outdoor’ lenses. Most of the winter I shoot indoors, which means macro, close-up or medium lens still-life. So I needed to flex the muscles and re-learn or remember the individual personalities of the lenses I use for landscape and outdoor shooting.
My newest outdoor lens is the Meyer-Optik Orestor 135mm f/2.8 (1966) which arrived just before the winter closed in. So I’d not had much chance to get to know the lens and what it can offer. I’ve collected a few ‘vintage’ lenses from Eastern Europe, and been impressed with the quality of shots modern digital cameras can produce using them. The rich and vibrant range of colour values is striking – and this particular lens is nicknamed “the bokeh monster”, which strikes an appreciative chord with me too!
[More about it here, and a further link to the album of shots I’ve taken using it are on my Flickr site.]
So I set out with low expectations, both for the beauty of the location at the end of winter, and for my technical expertise. We had some sunshine, which is so essential, as we strolled along the sunny banks beside the loch. Being a lens from way before the digital age, it needs to be used in full Manual mode, which means setting White Balance, ISO, Shutter speed and Aperture (F stop) on the fly. I want full control over the focus too, as often my interest is not on the closest subject (which is what auto-focus selects). Also there is no IS (image stabilising) so a tripod may come in handy too. I knew from my first experiments last autumn, that F4 or even F2.8 would give me the best bokeh chances. So finding a focal point close by was what I had in mind.
So – on to the actual shot I’m discussing here.
A small frond of leaves lit by the sun caught my eye. Beautiful, simple, and great for a bokeh effect. But closer inspection on the computer screen showed just how much damage the winter freeze had done to the leaves.
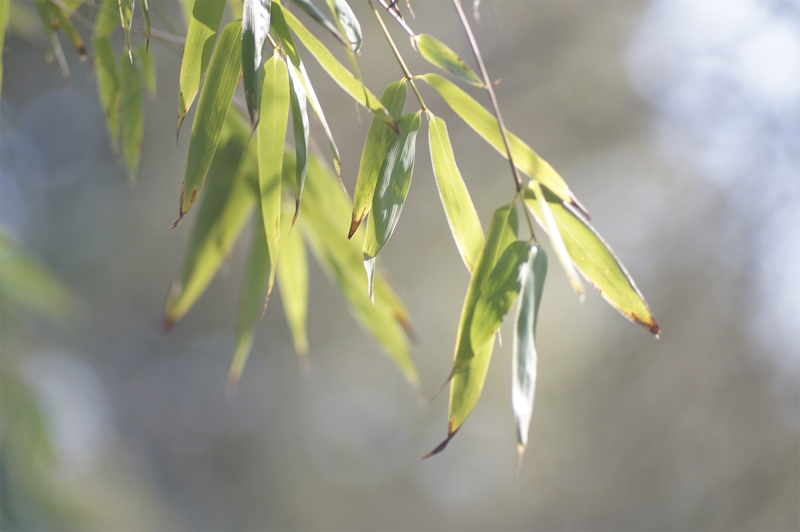
The composition is there, the light streaming in from the top right is lovely, and the bokeh is great – not distracting, but giving a texture to the background. But the damage is so evident – it distracts the viewer! So, if I was to make anything of the photo, I needed a lot of patient work in Photoshop with the Clone Stamp tool. I identified at least 17 places that needed attention.
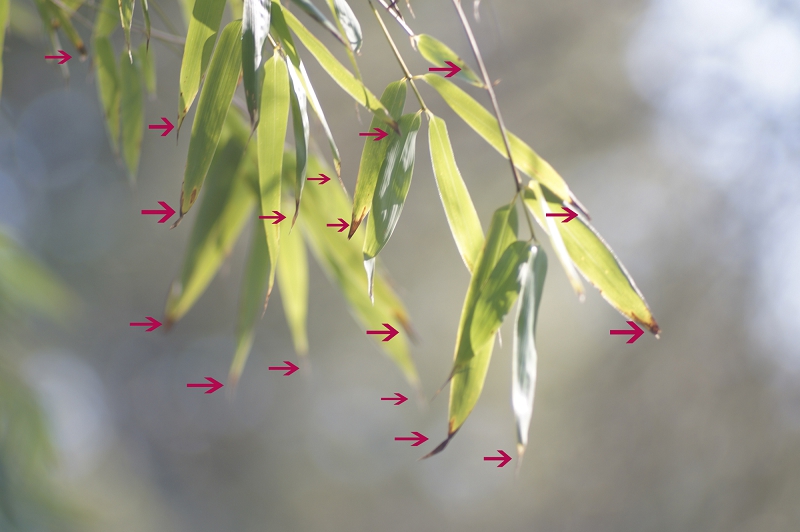
I set to work. The clone stamp tool is a miracle-worker. Used carefully it can transform an image. Here I needed to work with a brush size of between 20-100 pixels. I took the sample from as close to the damaged leaf area as I could, and used a strength of between 40% and 60% most of the time. With a soft brush that leaves little visible trace of the pixel overwriting. I didn’t want to remove all traces of damage, just most of them!
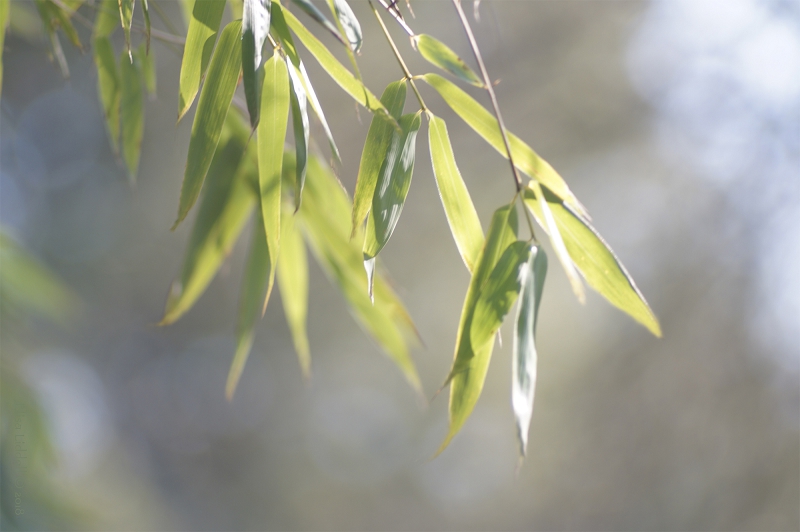
The image was now usable – and what I wanted to do was to enhance the image without destroying what was already there. I thought I could enhance the bokeh, and add some more colour interest to the background.
My choice for this was a great favourite of mine – Mix Pix Box – There is a wonderful collection “Light Bokeh Overlays” that would be perfect for the shot.

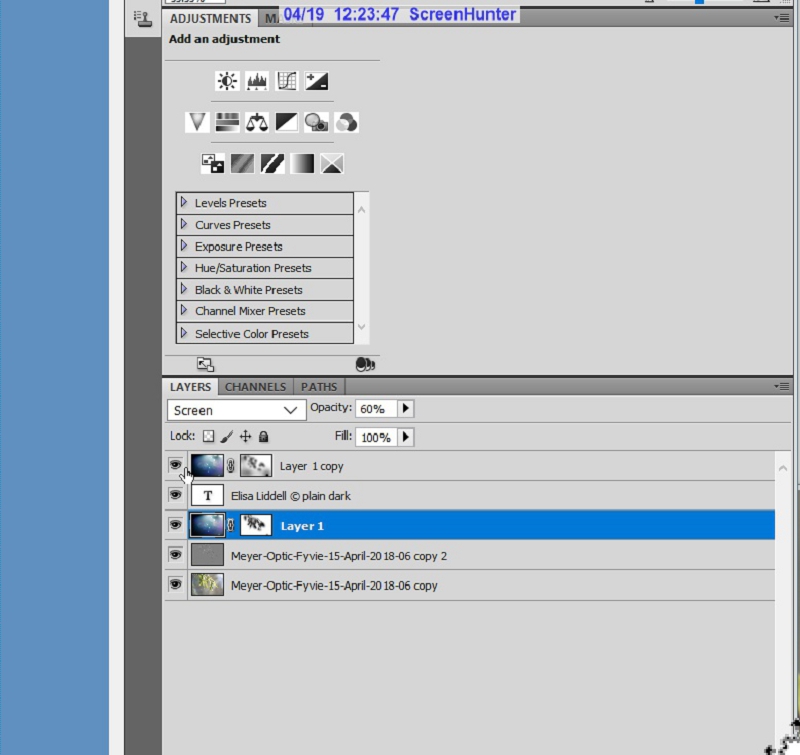
I used this overlay TWICE in different ways. The first layer I applied using the Screen option at 60%. The second time I chose Soft Light setting at 83%. The first offered most light, the second offered most colour. Combined they worked well. I used a Quick Mask on both to bring the leaves forward by gently removing some of the overlay.
And the final result

The ‘bones’ of a good shot were there in the original. But it took some post processing work to let them shine through!
Flickr holds Elisa’s online Photo Gallery
© 2019 Elisa Liddell
